Finding clays to make tiles
Finding clay suitable for making floor tiles is not that difficult. Almost any red/brown clay that could be used for brick making will suffice and such clays are commonplace in south England. However in the 1200’s a tile maker was more challenged with logistical problems - wet clay is heavy and the fired end product - the tile - is still quite heavy and quite fragile. In short it probably did not transport well over land with the roads and tracks available before the 19th century.
Some of the impacts of this were
Tile and brick making factories were generally built at, or close to, where the tiles and bricks were needed. When a cathedral or palace was built the tile factory was sited alongside the nearest local source of clay.
Tiles and other pottery were often transported by water. At Winchester many of the tiles were made about 5 miles south of the city at Otterbourne (in fact there is still a Kiln Lane that runs from the village center down to the river Itchen) and, further upstream, the Itchen runs very close to the cathedral site. Interestingly the development of the canal network in the Midlands was also closely linked with the development of the potteries - Wedgwood even commissioned canals to run past his factory.
- For similar reasons most towns and larger villages had their own brick works into the early twentieth century.
Original tiles were made from local clay. Given the amounts required to make tiles (about 2lb [900 g] a tile) it was probably used ‘as-dug’ with minimal processing. Large stones and roots etc. would have been removed and it was dug in the autumn and aged over the winter. The limited processing may influence the choice of the tile’s thickness. At Winchester tiles are 25 - 32 mm thick (when fired) which seems thicker than would be needed when the tiles were to be laid on a good bed of lime mortar. A thicker layer of clay would allow the stamp to push any stones etc. into the body of the clay and give a crisp imprint and may have helped with drying, kiln loading and firing.
Clays will contain a variable amount of sand depending on how they have been laid down and this affects the shrinkage. If the sand content of the clay varied across a clay-pit then this could have resulted in variable shrinkage when the tiles were dried and fired which would make the finished tiles of different sizes - something that has been noted in the medieval mosaics in the Cistercian Abbey ruins in Yorkshire.
To limit how many things were all varying at the same time when I started making tiles I initially used a bought-in sanded red earthenware from Stoke of Trent (Potclays Sanded Red 159-3730). This is a blended clay manufactured using slip-housing where the clay is mixed to a free running slip before sieving and mixing and then dried to a usable state - as such it is very uniform in composition and finished texture and ‘takes’ glazes well.
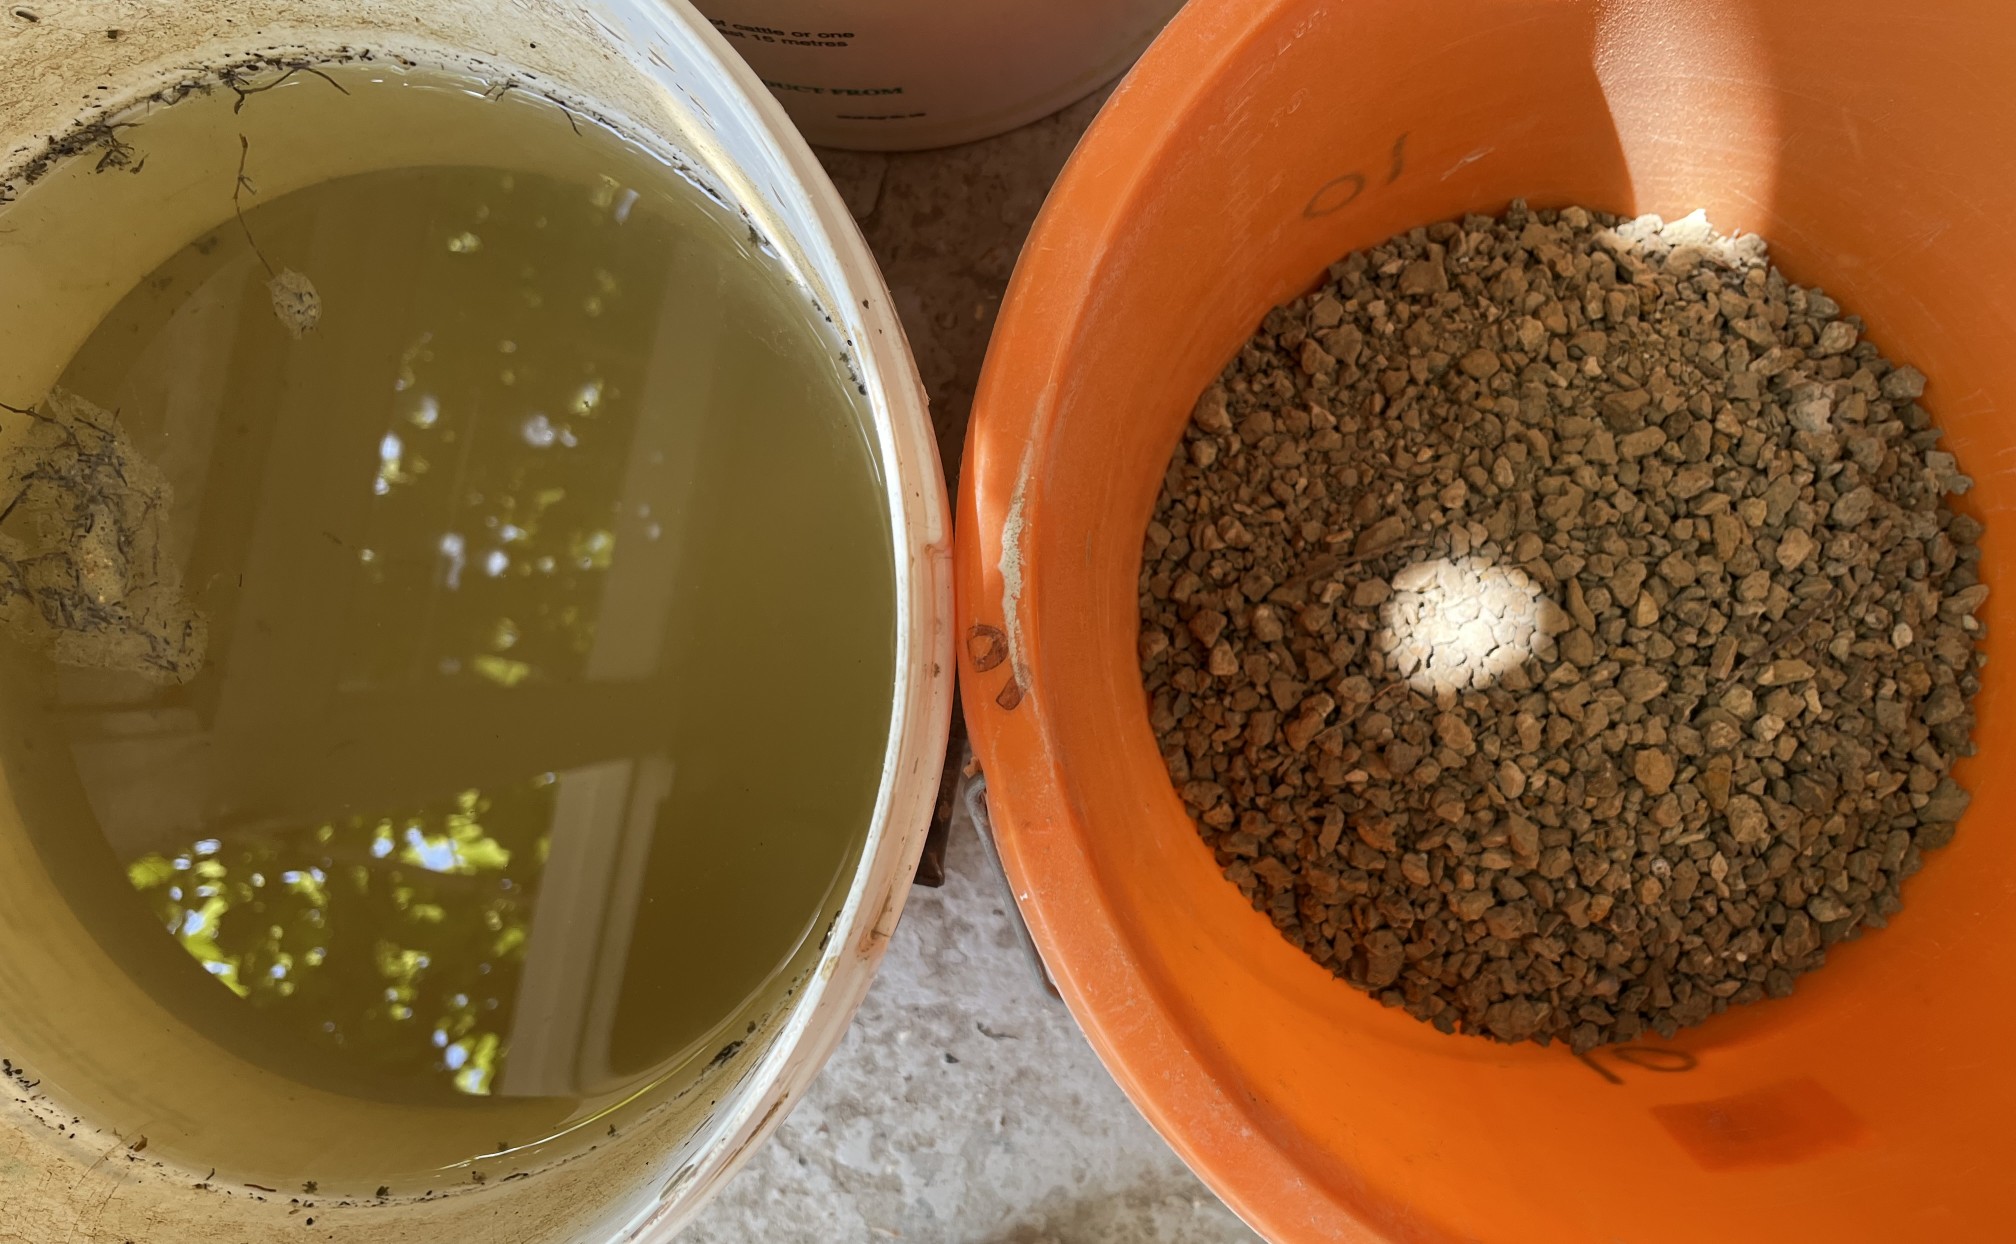
More recently I have progressed to using ‘home dug’ clay from our garden. We live about 12 miles from Otterborne in the Meon Valley so the clays may be similar. The clay is dug in our vegetable patch (so probably contains more soil and organic than is ideal) in about 15-20kg batches. It is then processed using a ‘slip-housing’ type method. The raw clay is dried in the sun and crushed down to pass through a garden sieve (4 mesh: 4 holes to the inch). Stones and roots etc are removed and then the clay is blended into a very wet slip with water. It is then sieved through a 12 mesh sieve to remove the larger sand / grit particles, roots, smaller stones and other rubbish. The sieved slip is poured into an old pillow-case and hung in a tree to drain and air dry.
After about a week the clay is transferred to our ‘drying blocks’ (aerated cement building blocks) so we can control the final drying after which it is lightly wedged and then stored for a few weeks before use.
Sieve mesh size. Initially I used any old kitchen-type sieve which removed a varying amount of the sand. This seemed to cause problems with shrinkage in that the inlays would not consistently lie in the design that had been indented into the tile. I am now much more careful to use a specific 12 mesh sieve. The shrinkage is about 12-14% from a throwable state down to after being fired at 1040’C. Much of the shrinkage occurs as the clay dries to ‘air dry’ and very little during the firing.
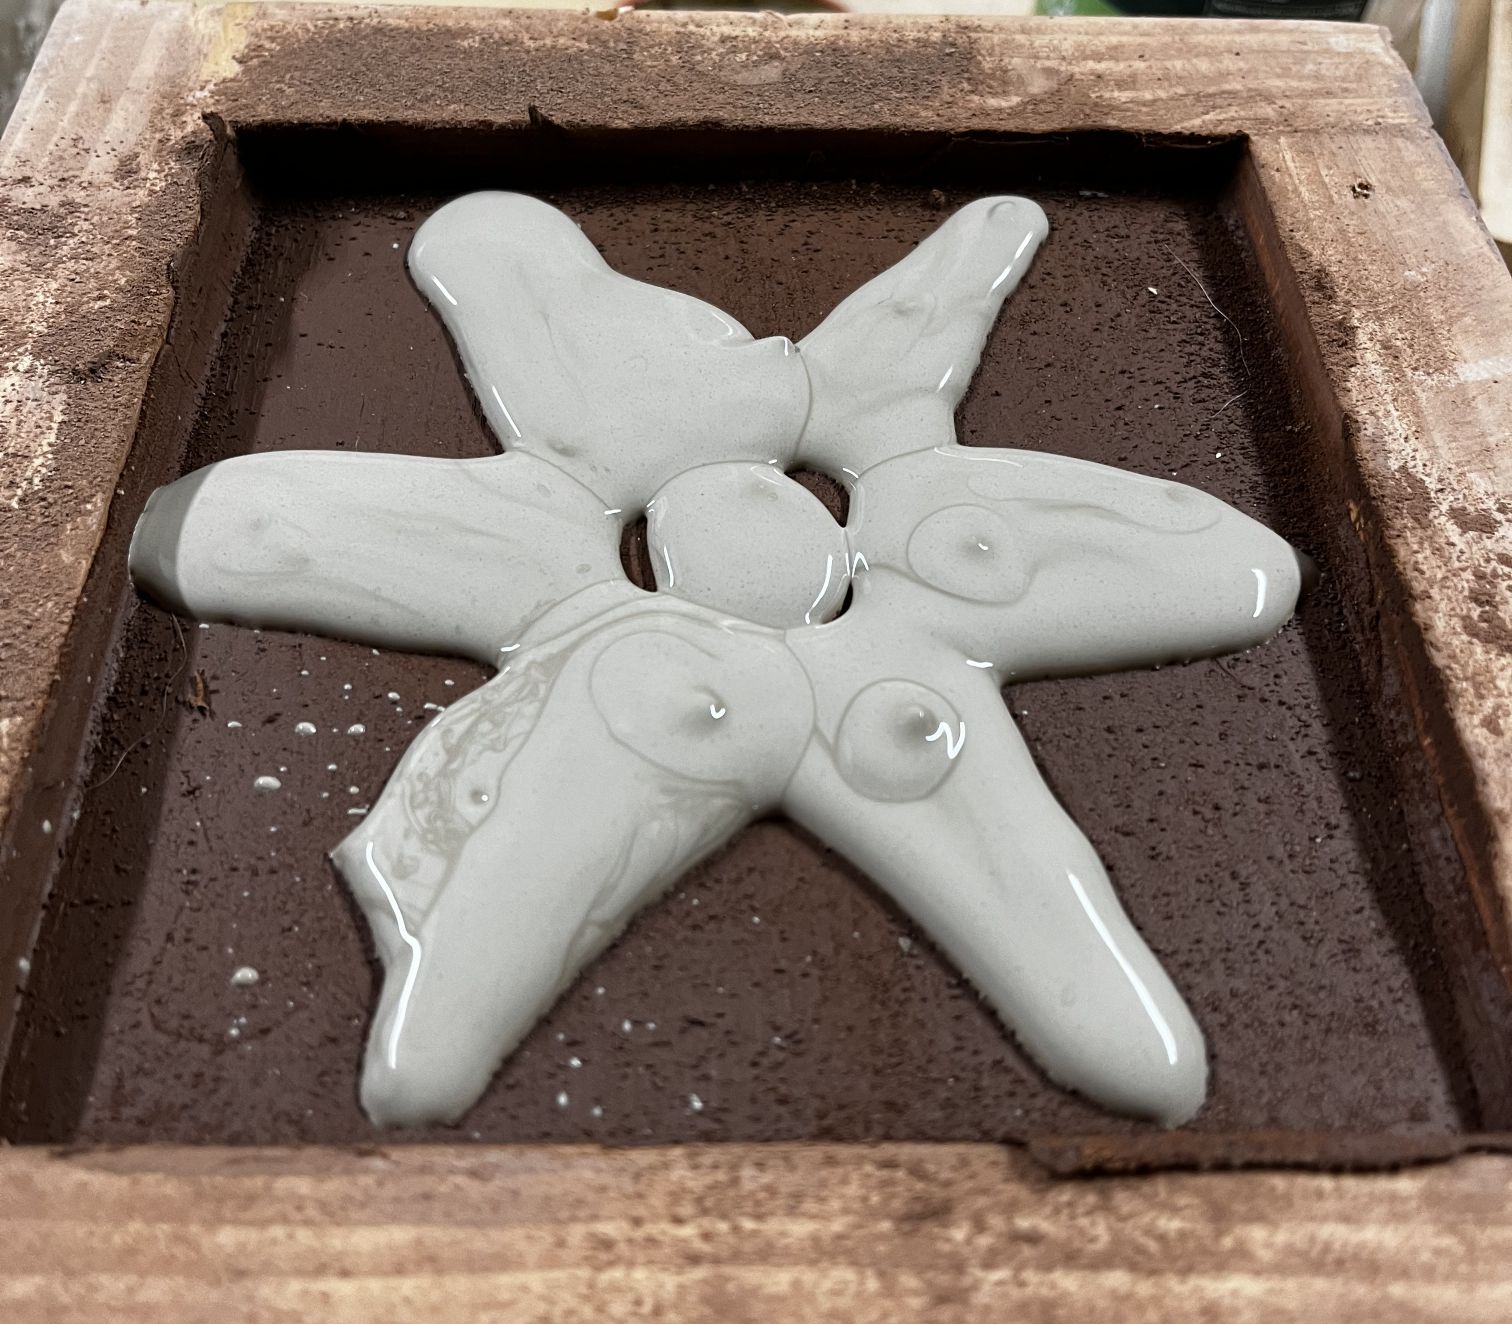
Inlay clay
The designs in inlaid medieval tiles are made by filling indents in the clay with a lighter coloured slip - this wants to be as white as possible to give a good contrast. White clay deposits are not common in England as most sites are contaminated with iron (which gives a red, rusty colouration). There are records in Winchester College that white clay was bought from the Farnham area (34 miles away) and it has been suggested that this may have been from clay pits owned by the College or Cathedral. If this clay had to travel by cart or by pack-horse it would have been much more valuable than the base clay and so I think it would have been used with care and moderation.
Another source that has been suggested is white ‘pipe clay’ as it was used in pipe making in Portchester near Portsmouth. CJ Arnold in Proc. Hants. Field Club Archaeol. Soc. 31, 1976 43-52 writes about a clay pipe manufacturer at Portchester in 1840. He reports that the pipeclay was bought from Devon by barges to a wharf on the Old Southampton Road in Paulsgrove. So it would seem likley that this was not an available source in medieval times.
I have not attempted to find a white clay locally but have used, and continue to use, a manufactured clay from Stoke on Trent (Potclays Studio white earthenware 158-1141). This clay contains very little iron oxide (0.7% compared to 9.4% in their manufactured red clay). It is almost TOO white to replicate the medieval inlay clays so I actually add a small amount of red clay.
It is important that the inlay and the base clay shrink at the same rates when drying and when being fired. If the inlay clay shrinks too much a crack will appear between the two clays. If it does not shrink enough then it can ‘pop out’ of the inlays. This was a problem initially and I now add a small amount of powdered porcelain to balance the shrinkage.